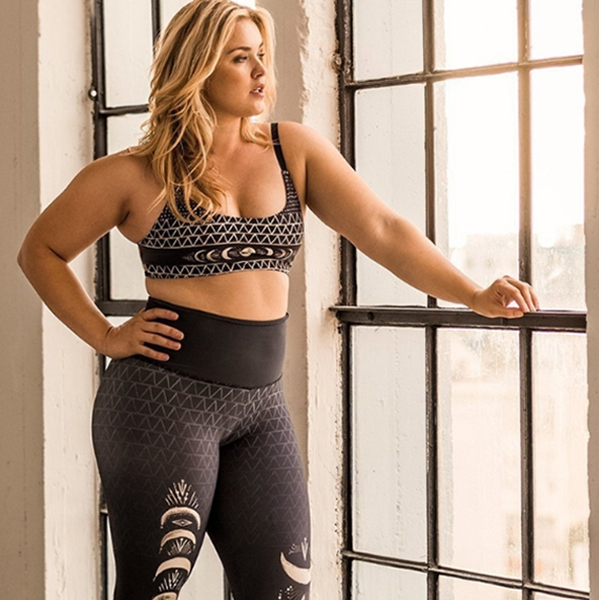
15 Jul Functional Training: How To Expand Your Range Of Motion
We already covered in previous posts the importance for every one of us to incorporate functional movements and functional conditioning into their exercise routines. We all know that movement is medicine, so we need to make sure that we stay injury-free and healthy up to old age. In a nutshell, our ultimate goal is to make joints work well as joints and to keep them healthy. In today’s post, we will focus on the expansion of range of motion through PAILs and RAILs. Find out below what these movement protocols are, their goals, and what these might look like.
A Functional Movement recap.
Just to recap, when we train to increase mobility, we use the muscles involved in that movement to make it happen, thus strengthening the muscles that support the joint. That’s what defines functional training. Functional Range Conditioning uses a variety of exercises to aid us in increasing our active mobility. It works by systematically expanding your body’s ranges of motion while simultaneously teaching the nervous system on how to control the newly acquired ranges. You train your passive flexibility so that it’s converted into usable, functional mobility.
In a previous post, we established that Controlled Articular Rotations (CARs) are used as a tool to assess your current range of motion. They are very powerful in maintaining joint health. CARs actively take your joints through end range of motion. However, to expand your range of motion, you also need to go through different training protocols. These are your PAILs and RAILs. They are designed to increase your range of motion by combining strength and stretching. We will explore exactly what this means below.
Training your body’s stretch reflex.
Our bodies work with stretch-reflexes, that means our tissues (muscles, tendons, fascia etc.) stop stretching before it results in an injury. What we basically want to communicate with our nervous system so it lets us have the extra 15 – 20 degrees more range, but only with control and strength. For example, when you get into your end range in a position your stretch reflex will kick in “automatically” and stop you from moving further. We want safety and longevity so we want to train beyond our reflexes in a controlled manner to get stronger. How you will achieve more range of motion and train new tissue in a safe way? Read more below.
What are PAILs & RAILs?
PAILs stands for Passive Angular Isometric Loading and RAILs for Regressive Isometric Angular Loading. Just to break down the jargon, an isometric contraction is when you are using your muscles but nothing is visibly moving. For example, when you are holding your high plank pose your body is visibly static but you are using your muscles to hold you up.
The terms Progressive and Regressive refers to the tissues you are working and their relationship with a joint. We refer to a progressive side to the tissues that are lengthened or stretched when performing a certain posture. Hence the tissues on the opposite side that are being shortened are the regressive side. In a nutshell, a PAILs effort is an isometric contraction of the tissues being stretched/lengthened and a RAILs is an isometric contraction of the tissues being shortened.
For example, imagine you are in a standing quad stretch. The progressive tissue here would be your quads and your hip flexors, as they are stretched in this pose. Your hamstrings and other tissue on the backside of your leg are shortened and therefore are the regressive tissues. You wouldn’t necessarily improve your mobility if you would only work the side of the joint that feels the stretch. The reasons for that is that our muscles need to learn to not only lengthen but also to shorten. Therefore the PAILs and RAILs exercises are always done as a pair.
Let’s look into how PAILs and RAILs exercise look like step by step.
PAILs and RAILs exercises.
One cycle consists of holding your stretch for up to 2 minutes, then you go into the PAIL contraction followed by the RAIL contraction. After that first cycle, you might find yourself within a new range of motion. This might be tiny, so don’t expect big changes after one cycle. After your first rep, you can repeat that sequence again.
You will see results continuing these over some period of time. Be aware that PAILs/RAILs are demanding on your body as the key component is to create tension throughout your body. Tension will increase the amount of force you can produce. Don’t push too hard too soon if you are new. And set your foundations: you don’t want to balance on one leg while doing your exercises, find a study wall or ground to support you so you can isolate the right areas.
Stretching is crucial.
Before you start your PAILs / RAILs on a particular joint, you need to stretch. Stretching is crucial. Although stretching is probably not the right word, it’s still training and it’s intense. Again, especially if you are new to these, take your time and gradually work your way to more strength and a few more degrees of range. Don’t forget you will be at the end of your range, in which you are the weakest. Plus holding that stretch for up to two minutes is not the most comfortable position to be in. We stretch for two minutes, as that is the amount of time your brain and your cells need to respond to the stretch. Only then do they realize that they need to change. During your time in the stretch, take it easy and use your breath to relax, unclench your jaw and ease a bit deeper into the pose.
PAIL / RAIL contractions.
After your two minute hold, you can begin your PAIL contraction. Again, remember your aim during your PAIL/ RAIL is to gradually ramp up the tension throughout the body, so you can develop more motor control of your ability to contract. We start by engaging the progressive tissue gently, maybe start at 20% and then gradually pushing up to 100%.
Hold your PAIL contraction for up to 10 seconds then immediately follow up with your RAIL contraction. Here you contract your opposite tissues, the muscles that would pull you deeper into the stretch. Again hold the position for up to 10 seconds. Et voila, that is one cycle done.
You might experience a new range of motion that your body will allow you to go to. You can begin your new cycle from here, holding your new range for a few breaths then follow with your PAIL and RAIL contraction. Again gradually building up to new range of motion is key here. You can do one or two if you are newer to these movement exercises and gradually work yourself up to more reps over time. Once again, the focus on the PAIL / RAIL concept is isometric movement, so most likely you will visually not see movement at all.
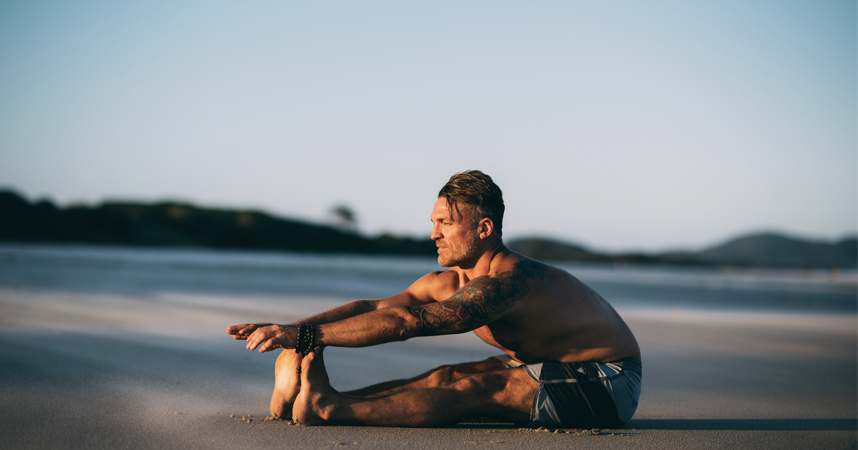
Let’s put the theory above into a practical example with the below hip mobility 90/90 stretch.
External hip rotation PAILs/ RAILs.
You are on the floor in a 90 / 90 position, similar to deer pose in yin yoga. Your front leg and back leg should be 90 degrees, be strict with that. We are focusing on external hip rotation. You want to find a stretch in your hip capsule of the front leg.
You find that sweet spot by tilting your pelvis forward and extending your spine forward. Keeping a straight spine and draw your belly button forwards towards the middle of your shin. Don’t round your lower back, we don’t want to take off the tension on the tissue we are working with here. You should feel the stretch on the outside of your front hip. You might think pigeon pose in yoga, but for our example here you actually want a deeper stretch. Hold that stretch for your 2-minutes.
Now start your PAIL contraction by gradually building up tension in your whole body. Lock in your core and drive your hip, your whole leg and foot into the floor. Imagine you want to push it through the floor, so ramp it up. All muscles that are stretched here will be activated thus strengthened. Keep the spine straight throughout. Hold for 10 seconds.
Follow up with your RAIL contraction, i.e. strengthening all the muscles that are shortened in this posture. Lock in the core, squeeze inside thigh and whole leg. Visualize your foot and then knee lifting off the ground. Again straight spine throughout. You will most likely not lift your leg off. Hold for 10 seconds.
One cycle is complete. You can continue and hold here for a few breaths, stretching in your new acquired range before you can begin another cycle.
Movement is medicine.
All in all, PAILs and RAILs will help you build strength and tissue adaptation in both the shortened and lengthened ranges of motion over time. You want to have control and strength through your entire range and beyond. Training new tissue that your nervous system couldn’t previously access will be a gradual process. You don’t want to open a new range of motion and smash it, so ease into it and not overtrain.
You also want to be consistent here, even if you make small progress. Remember that these newfound range of motion are temporary until you lock them in. True change at the tissue and joint level happens over time, not a few weeks or months here and there. You want things to open up, own it and strengthen them, so you have them ready and you can use them when you run, squad during your strength training or in yoga. Your CARs, PAILs / RAILs can be done anytime, really. Perhaps incorporate them into your workout routine. And yes, these can also be done in your yoga asana session.
Get in on the buzz about Functional Yoga.
If you are curious to see and try for yourself, how these functional movements can be integrated into a yoga class, we have just the right class for you. Have a look at the Livestream timetable and book yourself into Power Living‘s Founder Duncan Peak‘s classes. He intelligently builds a few functional movement protocols into the yoga sequence, you will not even realise at first. Then you start to work hard, remember gradually building up tension throughout the whole body is key in these. You will feel the difference it makes for sure.
Seeing you on the mat, yogis?
Written by the Power Living team.